CRITERIA FOR COLOUR PROOF EVALUATION
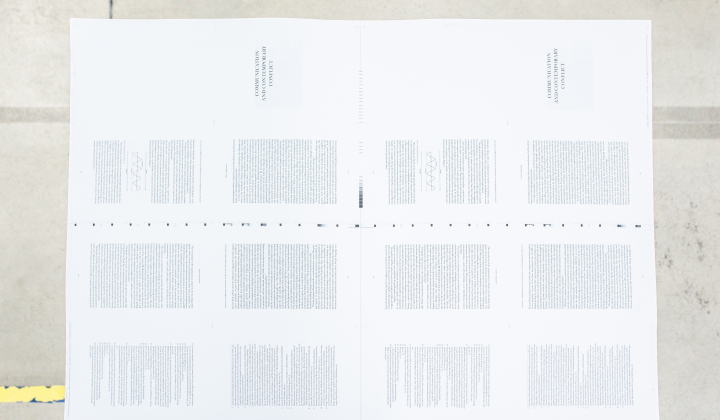
1. Colour proofs should be printed on a suitable proof paper:
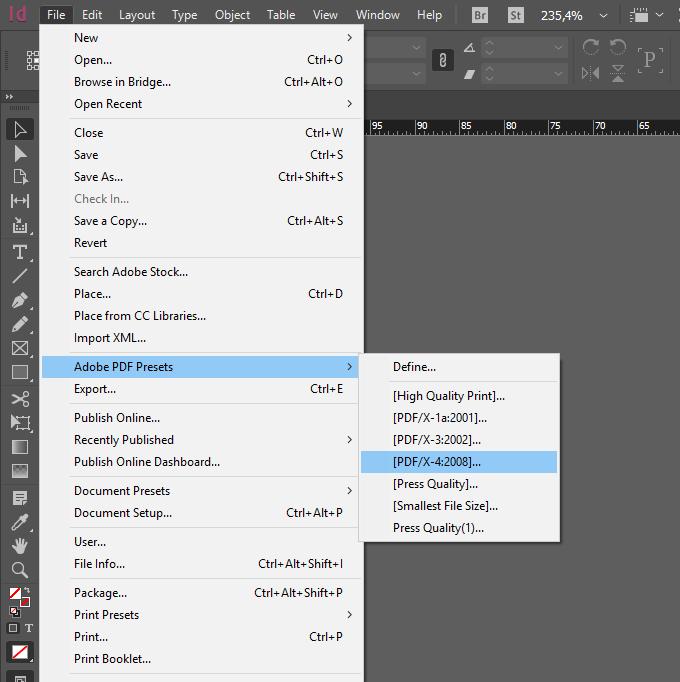
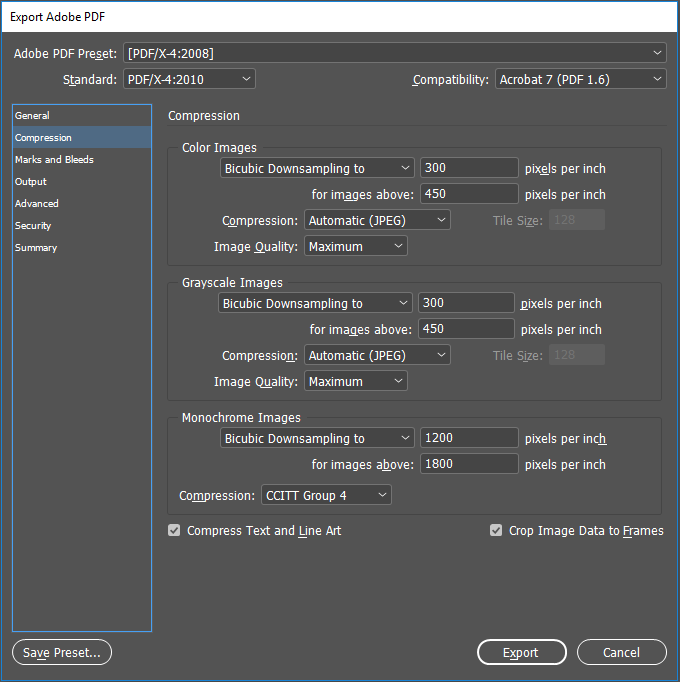
2. Colour proof should be printed from the file supplied to the printer as the ready-to-print PDF file.
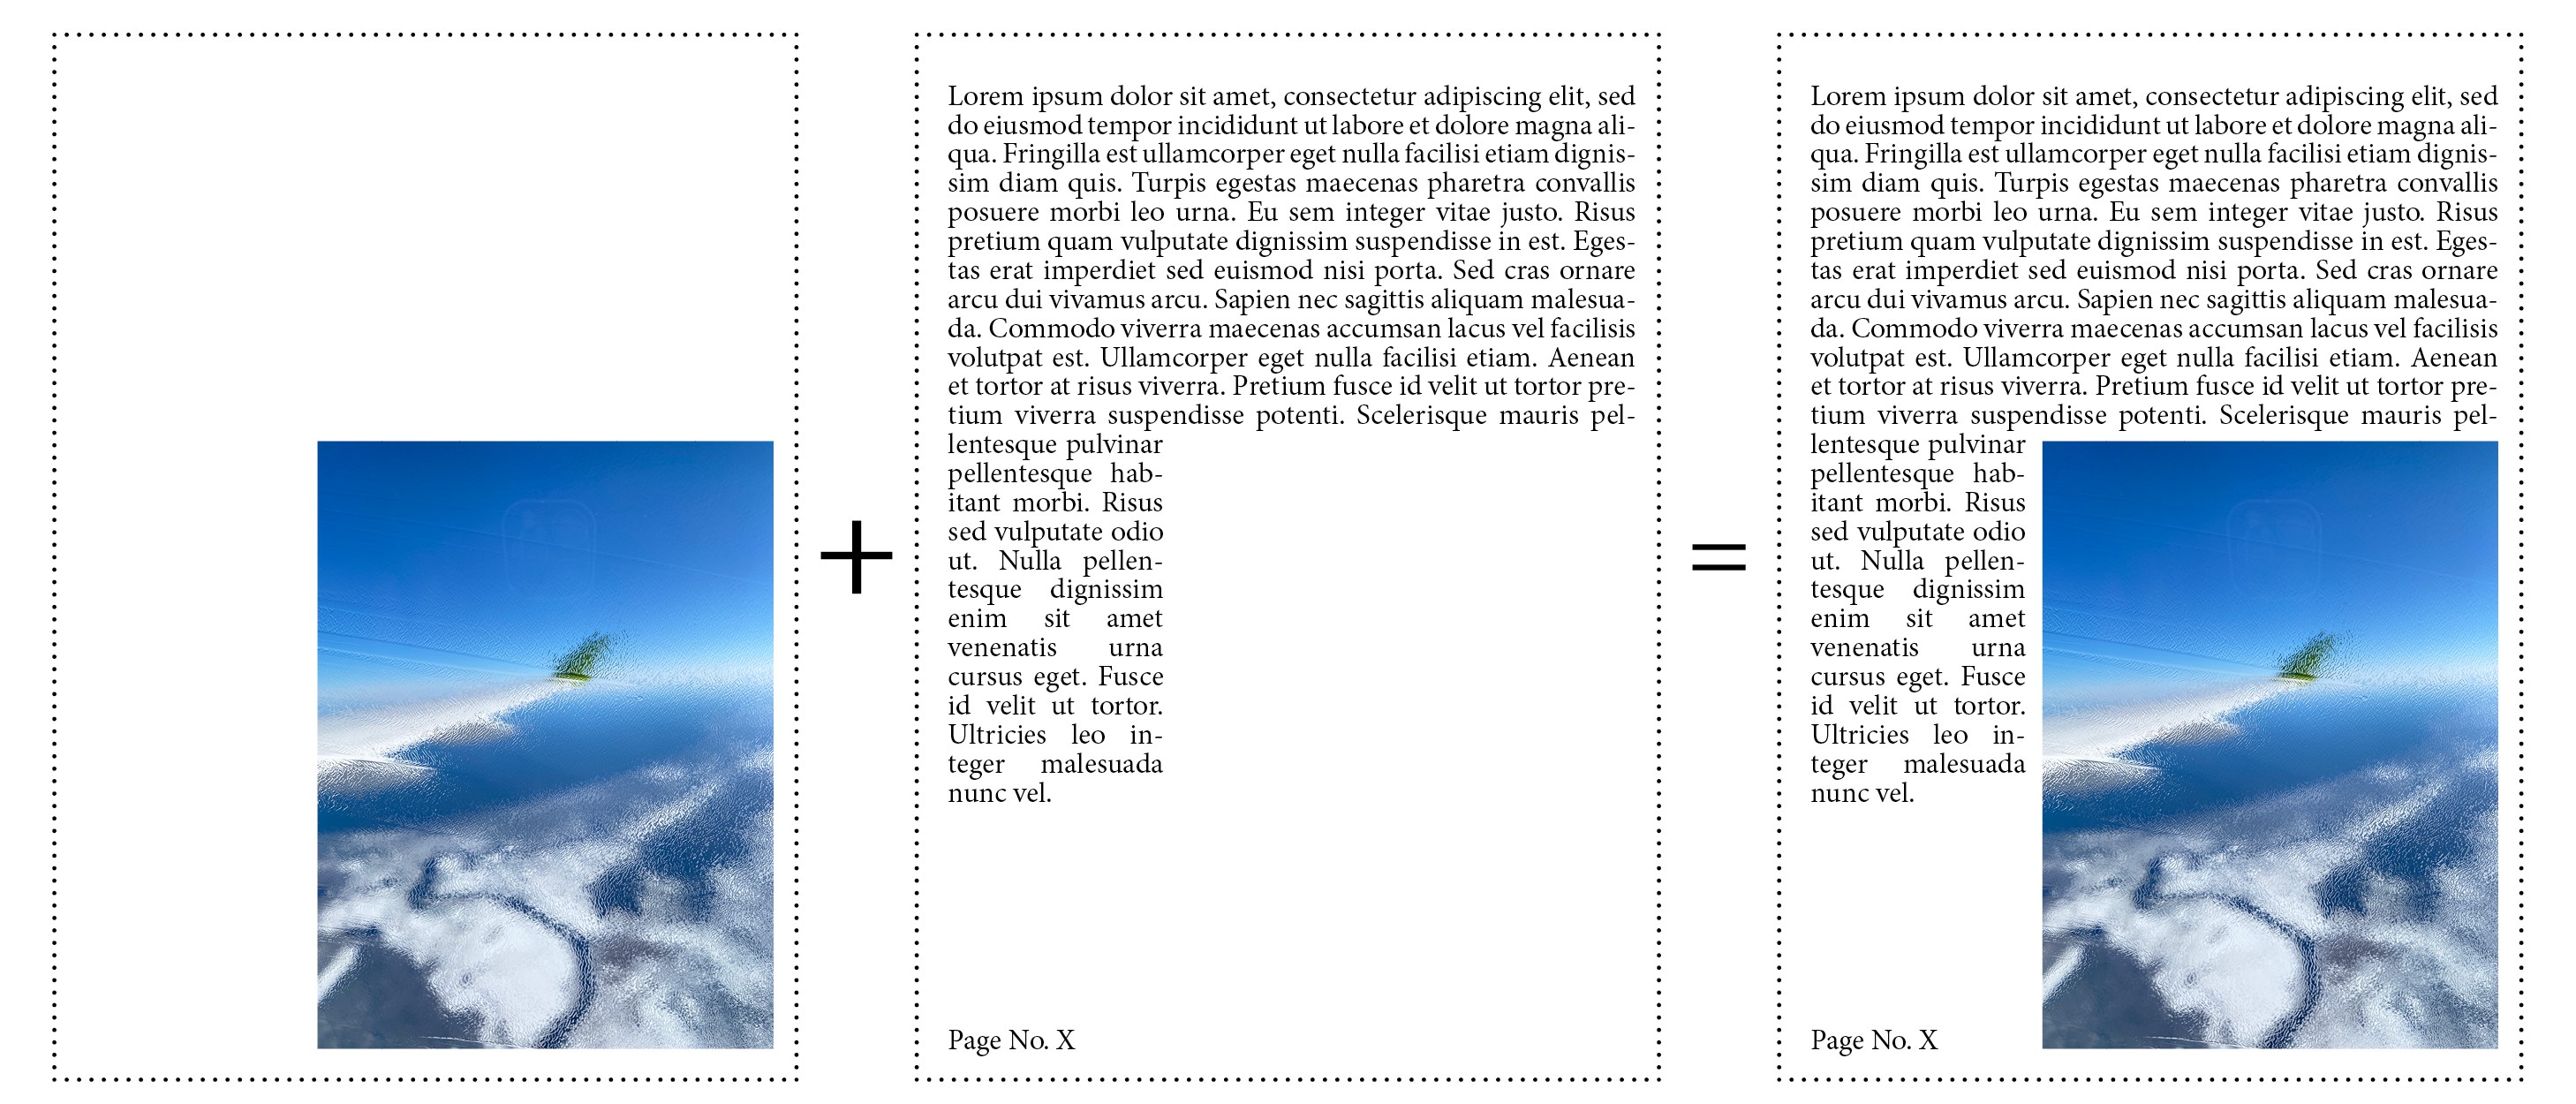
3. Sizes of images on the proofs should match the printed result 1:1.
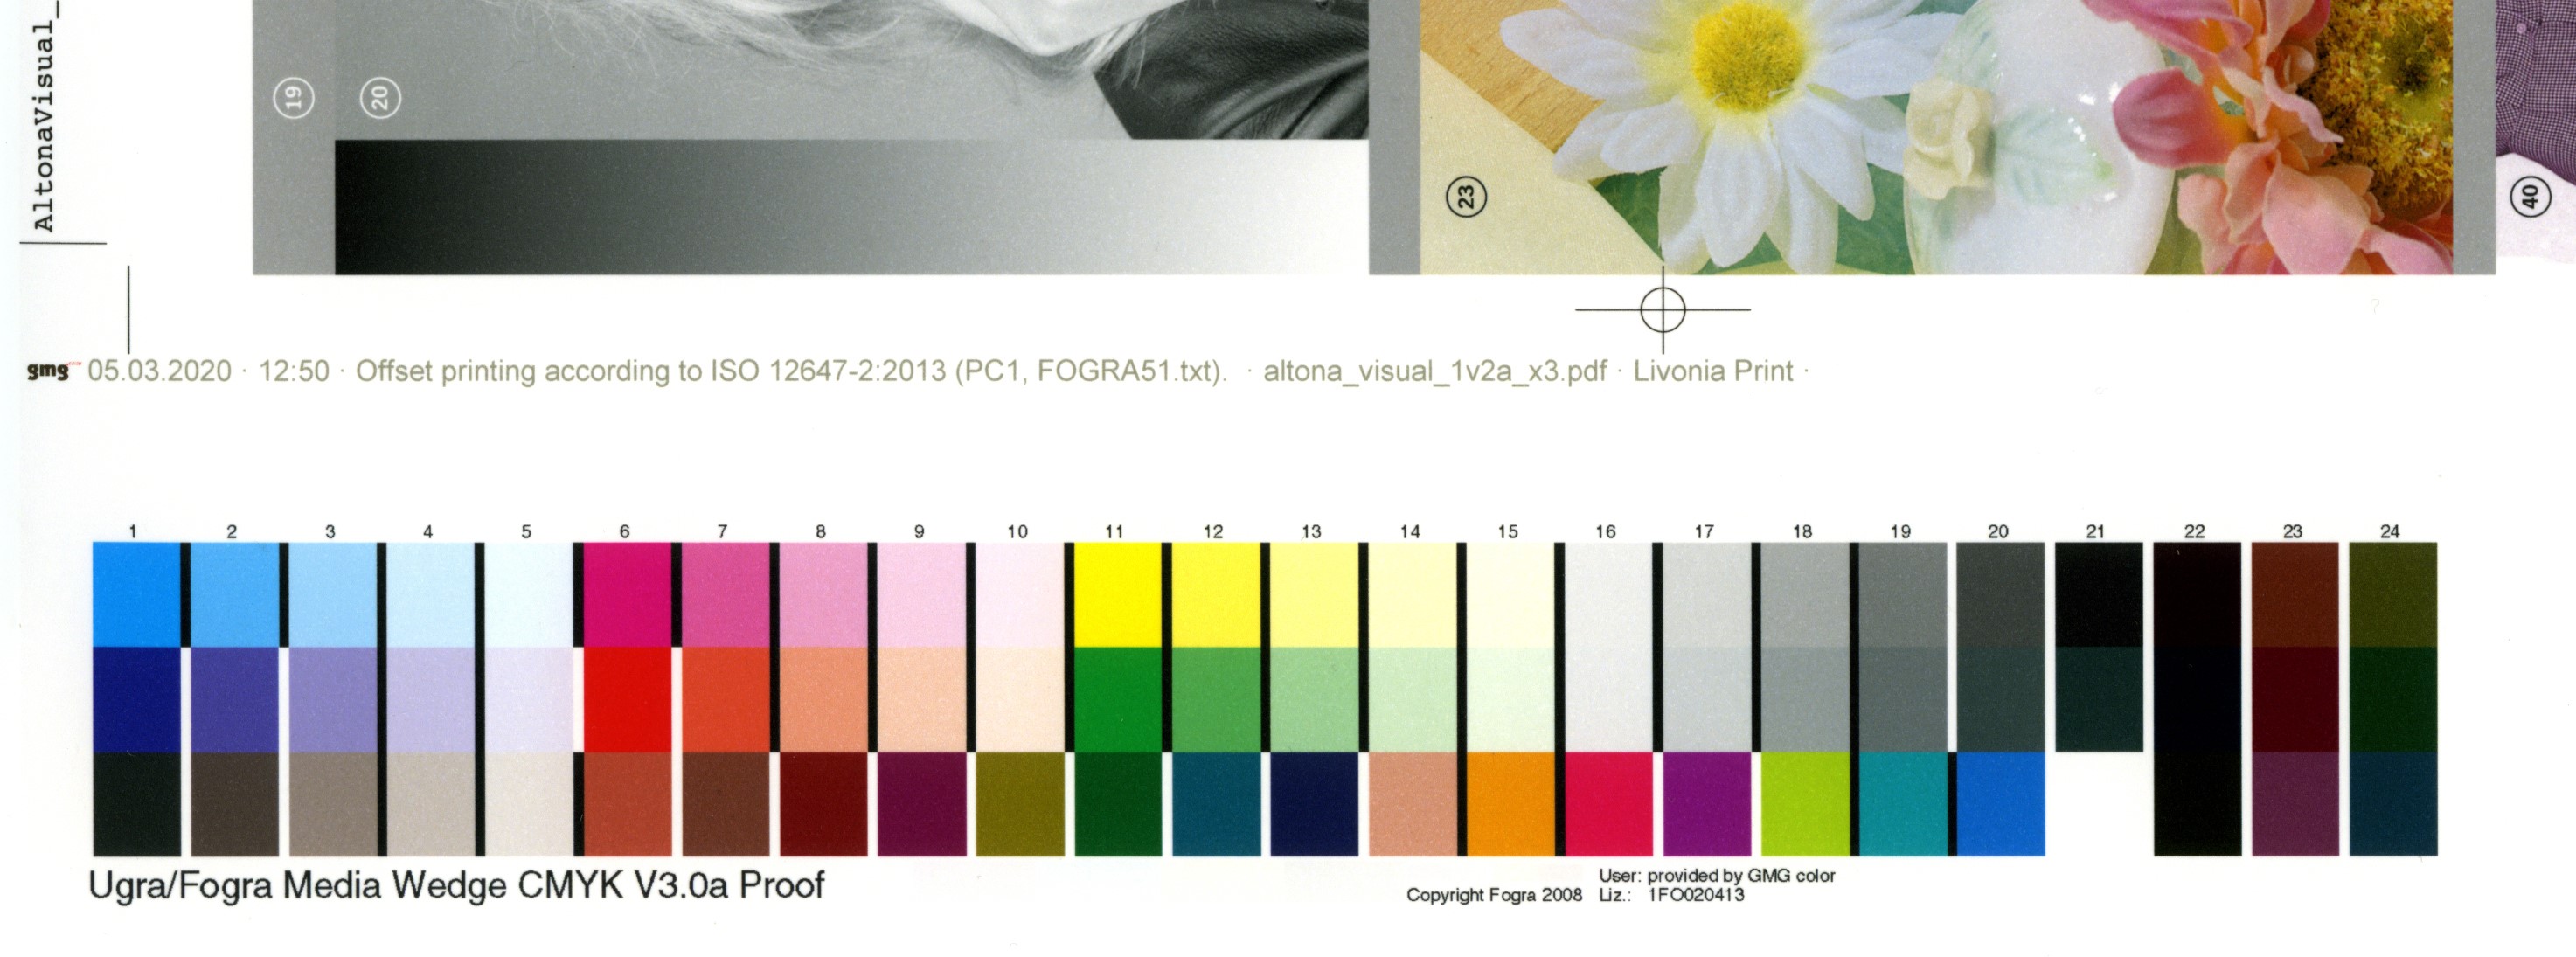
4. Each colour proof should include the following information:
-
Date the proof has been printed
-
Name of the file printed
-
Applied printing standard
-
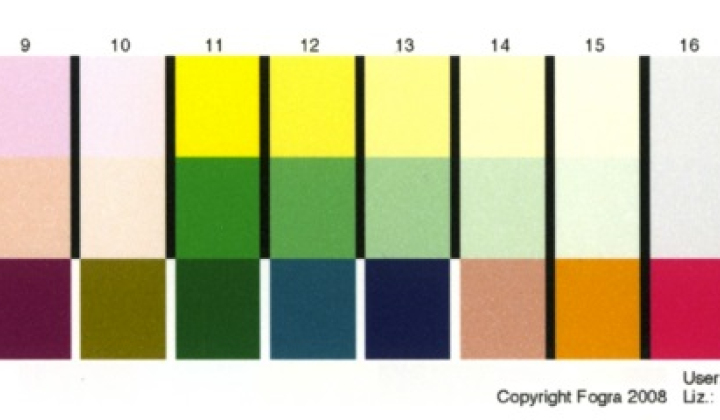
Ugra/Fogra Media wedge v2 or v3
If any of the above mentioned information is missing on the supplied colour proof, the proof does not comply with ISO standard and cannot be used as a valid reference for printing.
If there is an obvious mismatch between the colour proofs and the supplied printing files (objects that are only on files or only on printed proofs; file creation date is later than a date on proofs, etc), these proofs cannot be used as a valid reference for printing.
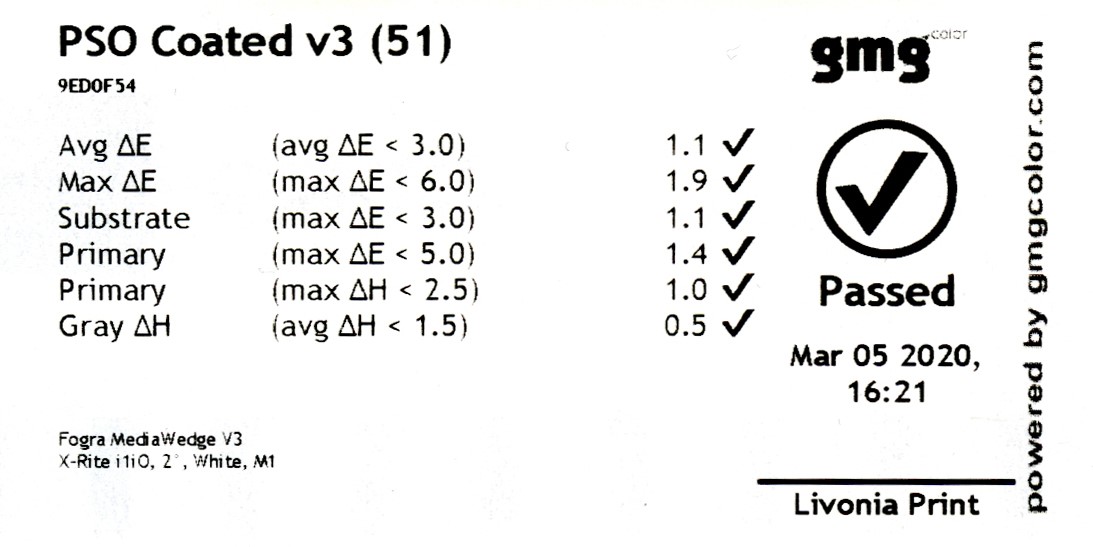
In case of doubts about the supplied colour proof quality, Livonia Print would print 1-3 Livonia Print ISO certified proofs to check the conformity. If proofs don’t match, it will be communicated to the client. If needed, Livonia Print colour proofs will be sent to the client for approval, extra charge may be applied.
ACCEPTANCE OF COLOUR PROOFS
-
If colour proofs and PDF files are supplied as PSO uncoated v2, prepared according to Fogra 29/30/47 standard and yellowish paper is selected for printing, the colour proofs can be accepted as a reference.
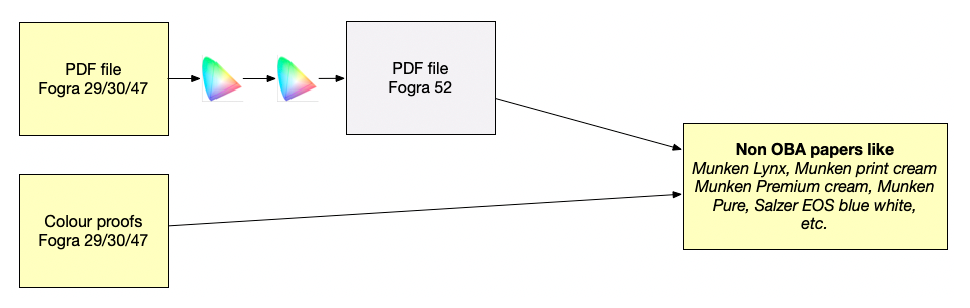
- If colour proofs and PDF files are supplied as PSO uncoated v2, prepared according to Fogra 29/30/47 standard, but White/Uncoated OBA paper (Amber Graphic, Magno Natural) paper is selected for printing, the colour proofs are not valid as a reference due to different paper whiteness.
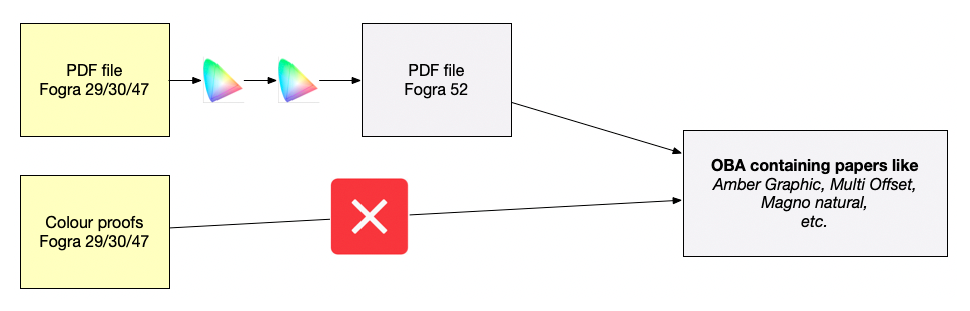
- If colour proofs are supplied as PSO uncoated v2, prepared according to Fogra 29/30/47 standard, but pdf files are created according to PSO coated v3 Fogra 52, the colour proofs are not valid as a reference due to different print standards.
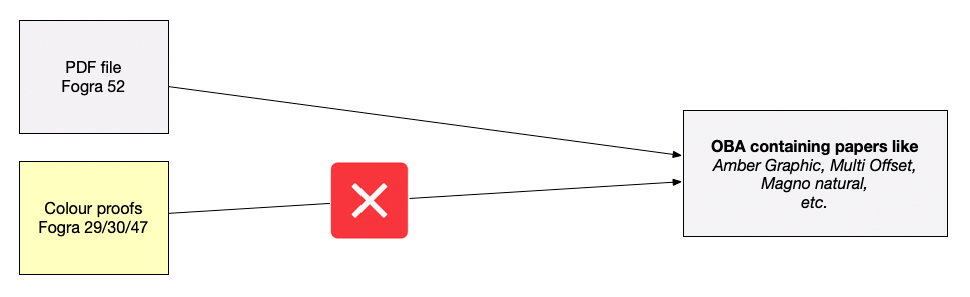
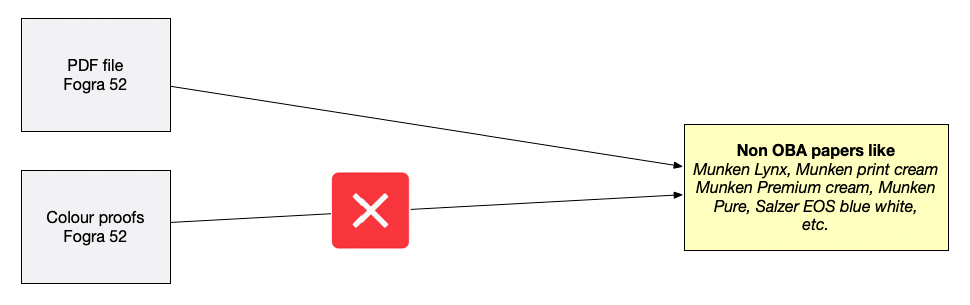
- If colour proofs and PDF files are supplied as PSO uncoated v3 according to Fogra 52 standard, but Uncoated/Yellowish non-OBA paper is selected for printing, the colour proofs are not valid as a reference due to different paper whiteness.
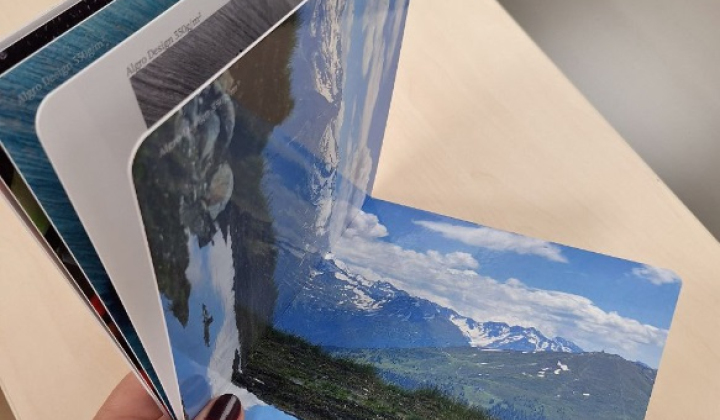
CRITERIA FOR PREVIOUSLY PRINTED SAMPLE BOOK USE AS A REFERENCE FOR A NEXT REPRINT
All orders at Livonia Print are strictly printed according to ISO12647-2 standard. Therefore the only valid reference for first print or any reprint are only certified colour proofs printed according to the instructions described above.
Factors like, for example, changes in production of paper, ink and other material, or aging of paper and materials are often the reasons, why it is impossible to match the reprint to the previously printed sample.
If the client insists on using the previously printed sample book as a reference, the operator can try to adjust the colours, if differences are minimal. However, this kind of sample still is not considered as a valid reference for printing.
If a printing operator doubts a possibility of a close colour match, the printing process will be stopped for further communication, which would result in extra costs for the client.